Summary
Now that you’ve created Topics, Business Units, and Content Types, you are ready to apply these tags to your content assets!
This article covers:
- How to tag content assets with the tags you have created
- How to add Smart Topics to your content assets
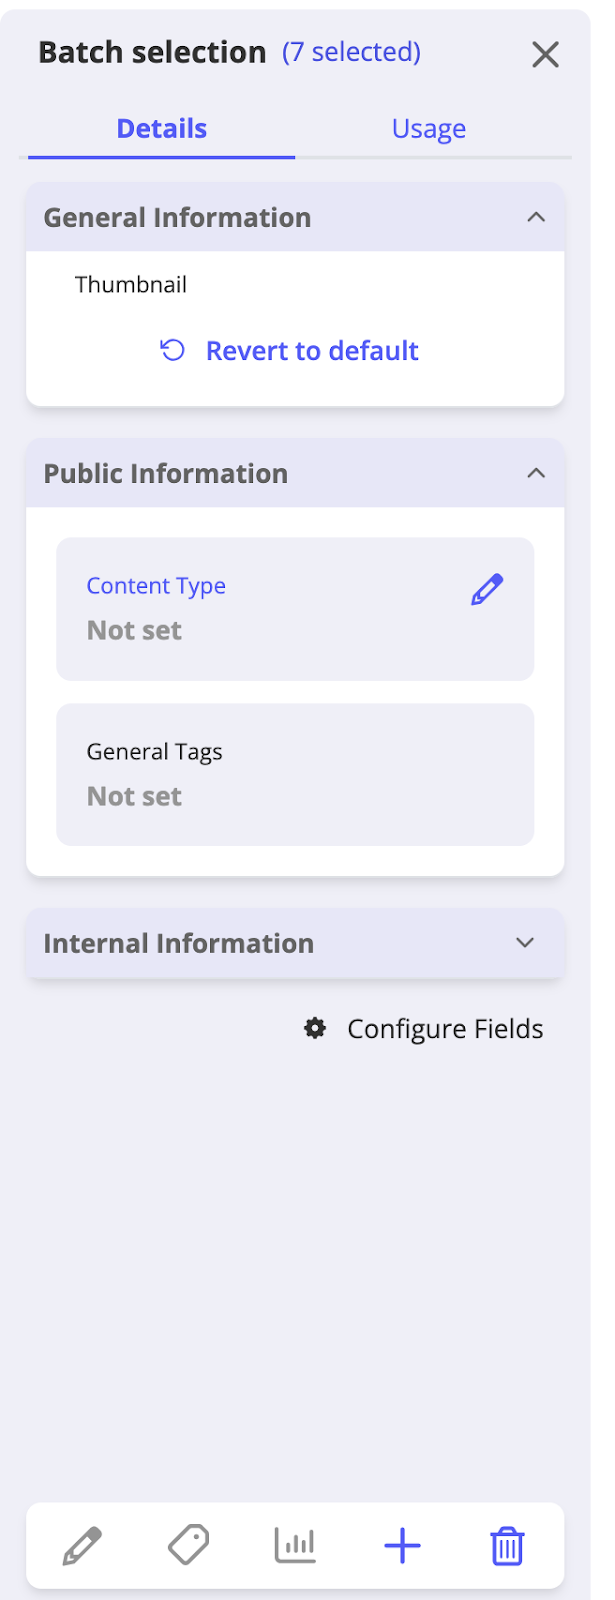
Note: You may tag multiple content assets in bulk by selecting them in the Content Library. To select multiple files hold down the Command key (Mac) or the Control key (Windows) while selecting files.
How to Add Regular Tags to Content Assets
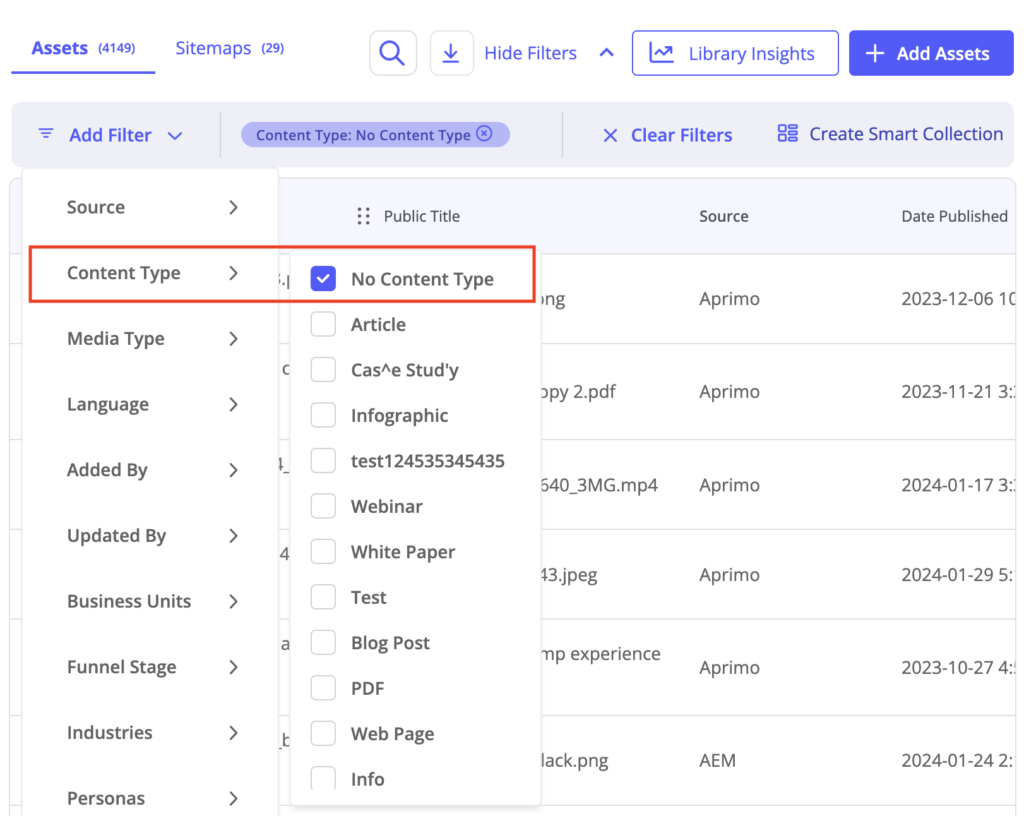
Note: If you want to find all your content assets without a particular tag type you can use the filters in the Content Library as shown below.
To add regular tags to content assets, follow these steps.
- In the content library, select an asset to tag.
- On the right side panel you will see icons that are quick links to other functions, as highlighted in the screen capture below.
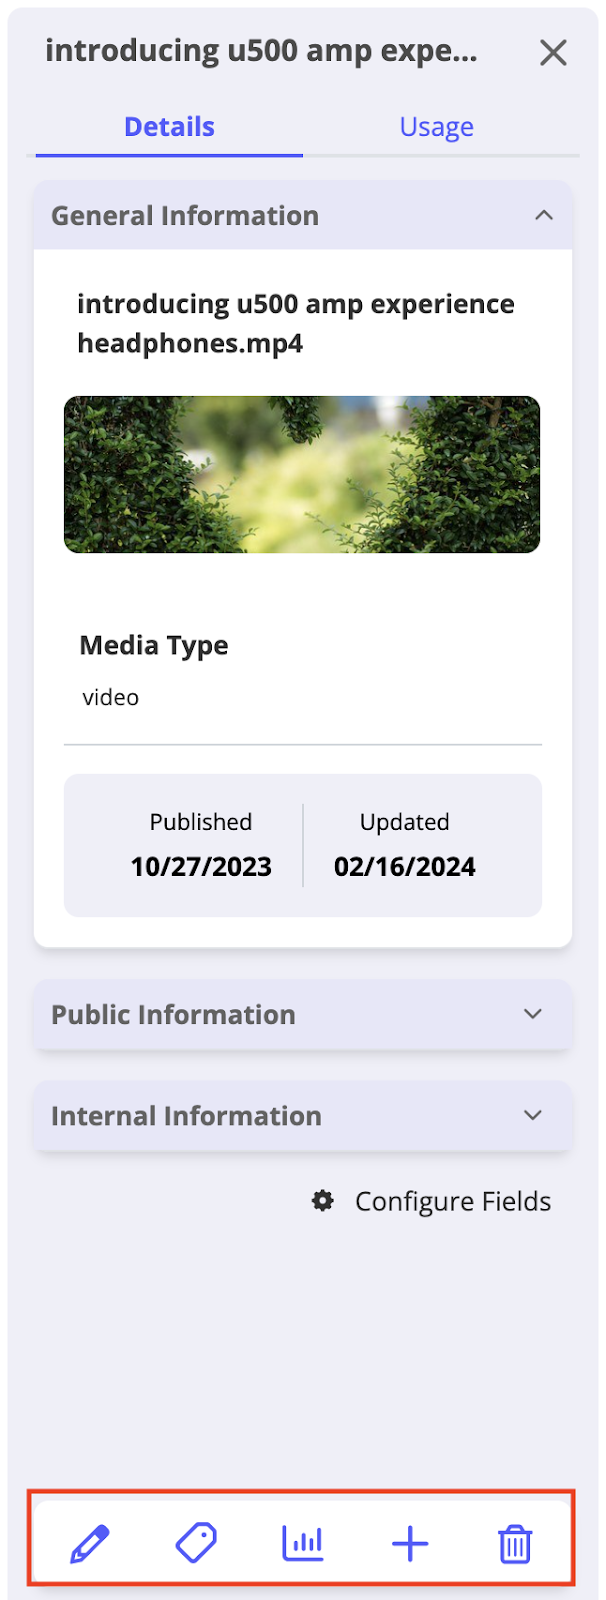
- Pencil – Edit the fields for the given assets.
- Tag – There are three tabs to view here: Details, Tags, and Insights for the given asset.
- Graph – View the engagement overview for the selected content assets.
- Plus Sign – Add the selected assets to an Experience. Click the plus sign and follow the prompts to select the Experiences to which you want to add this content asset.
- Trash Bin – Delete the selected content assets by clicking the trash bin icon and then following the prompts to complete the process.
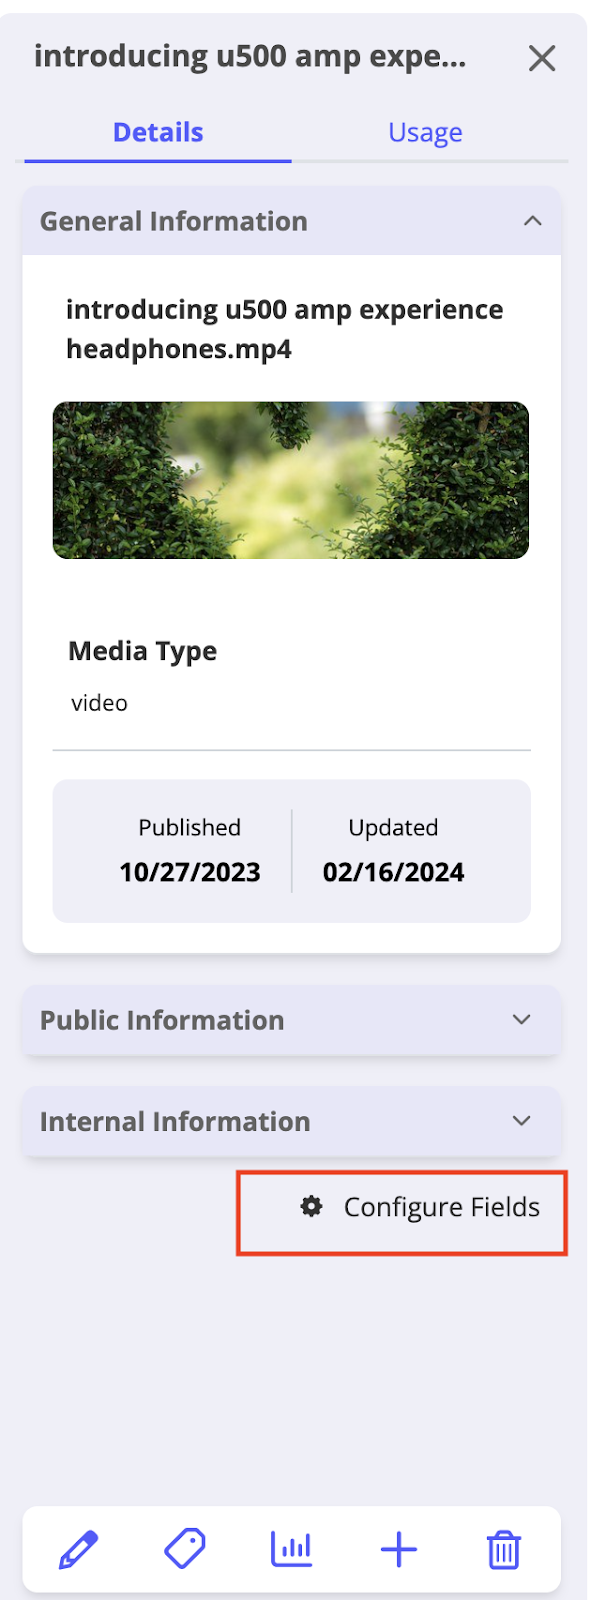
- After you have selected the content asset you want to edit from the Content Library, the panel on the right side is where you can view the asset’s engagement, publishing date, seo score, and more. You’ll notice two tabs: Details and Usage.
Below is an example of the Details tab.
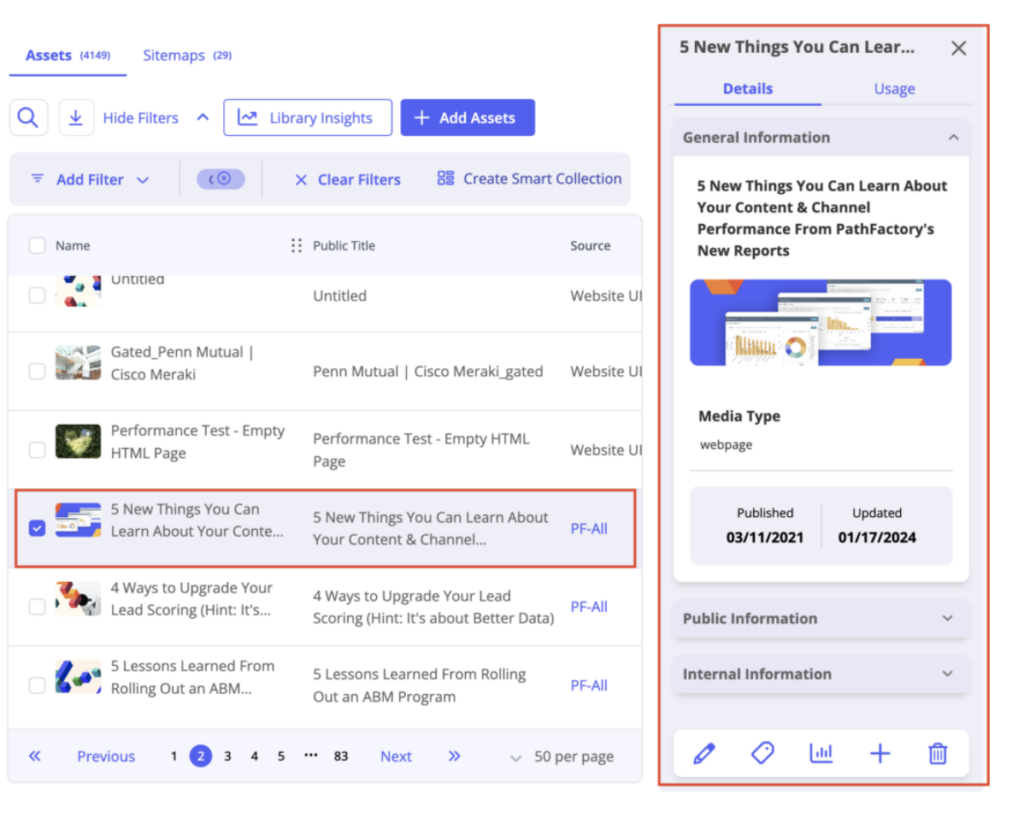
Content Library Asset Details tab
On the Details tab expand the following menus to see and edit the following information.
- General Information menu – A thumbnail image will automatically be pulled from your content to display, but you can change the image by hovering your mouse over the thumbnail and then clicking the pencil icon. Follow the prompts to complete the image selection.
You will also see the article’s format (in the example above the article is a web page), the date the article was published and the date the article was updated.
- Public Information menu – each of these menu items are adjustable. Hover over the item you wish to edit and then select the pencil icon that appears.
Depending on the content assets’ internal settings, some or all of the following fields appear along with the content assets, depending on the type of content and tags that have already been added to the content.
SEO Title – A succinct, keyword-rich title to ensure search engine optimization.
Content Type – The format or nature of the content, such as article or video.
General Tags – Descriptive keywords categorizing content assets.
Source URL – The original web address where the content is published.
Custom URL Slug – A concise, descriptive part of the web page URL.
Canonical URL Override – Directive specifying the preferred URL for indexing.
- Internal Information menu – on this menu, you can add your tags to the given content asset, edit the Funnel Stages, Estimated Cost, and more. To edit any of these settings, including adding the content tags, hover your cursor over the given field and then click the pencil icon that appears.
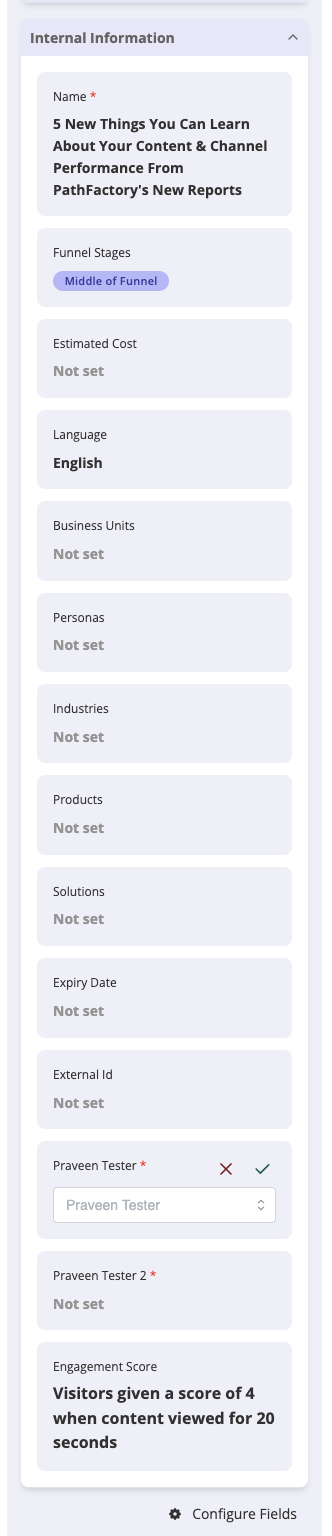
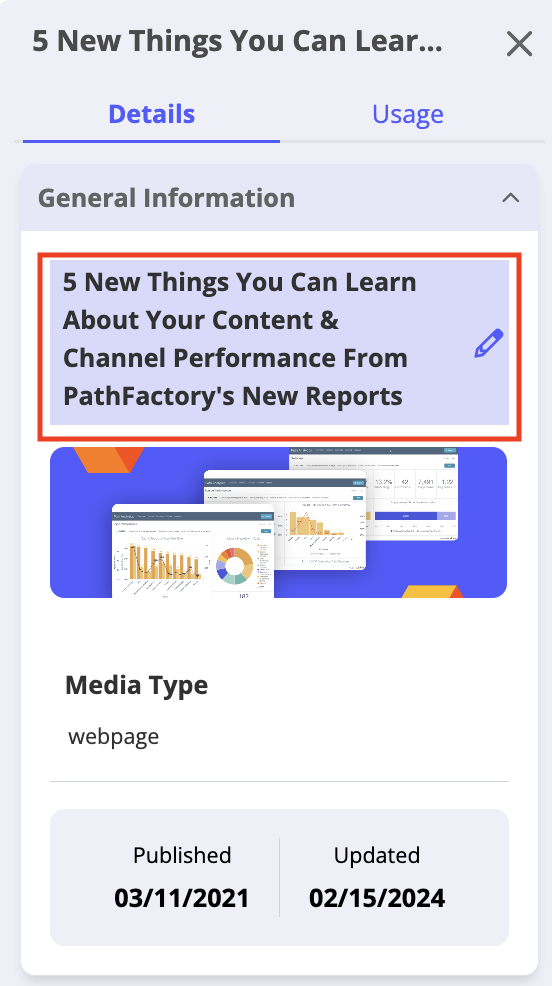
Name – this is the name of the asset that is displayed, and you may edit this title by hovering over it and then clicking the pencil icon.
Funnel Stages – The stages in a marketing or sales funnel where the content is relevant.
Estimated Cost – The projected expense associated with creating or distributing the content.
Language – From this dropdown list you may select one language as the default language for the given asset.
Tags – You may add tags to the content asset, such as Business Units, Personas, Industries, Products, and Solutions.
Note: You can select multiple tags. Deselect tags by clicking on them again.
Expiry Date – You can either type in a date, or click the arrow to select from a calendar. Your content will not be deleted or made inactive after its expiry date; this feature allows you to keep track of content assets which should not be used after a certain date. For example, you may not want to use a holiday-specific content asset after that holiday.
External ID – To track the engagement and effectiveness of the content asset, add an external ID.
Note: Find out more by reading External ID on Content Assets.
Engagement Score – A numerical measure of the level of interaction and interest generated by the content.
Note: To change the available categories for tagging, click on the gear icon as shown below.
When you select Configure Fields, a window opens in which you can select the most common tags for your content assets that you want to appear on the Internal Information menu.
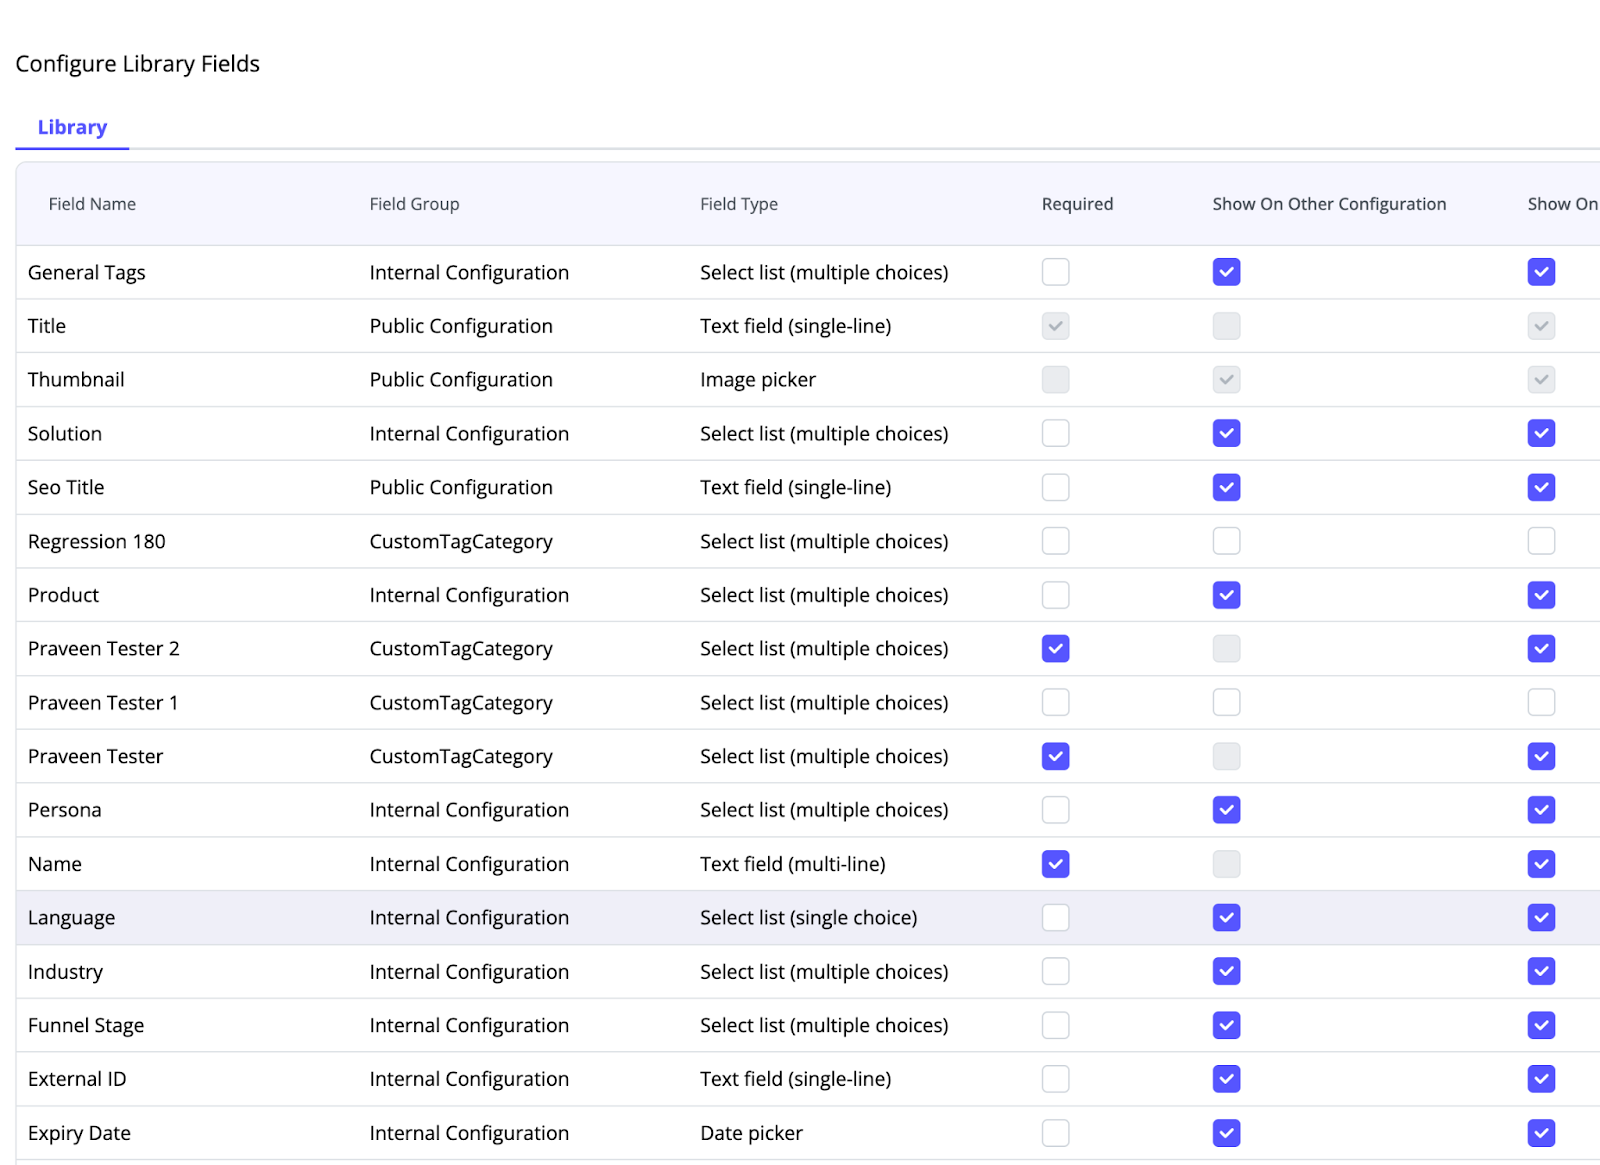
When you have selected all of the fields you want to display, scroll to the bottom of the window. Click Save to retain the changes. To exit without saving, click Cancel. To return to the Content Asset Library, click your browser’s Back button.
2. To continue the tagging process, select the Usage tab.

Here you see where the given content asset is being used across all Experiences and Virtual Events. You may indicate in which Experience (Templated Experiences, Recommend Tracks, Target Tracks and Virtual Events) you want to include this asset. Completing this process will make the asset automatically appear in those Experiences.
How to Add Smart Topic Tags to Content Assets
Smart Topics are suggested topics provided by PathFactory’s Smart Content Insights. The text is extracted from your text-based content assets, and then analyzed to provide these suggested topics.
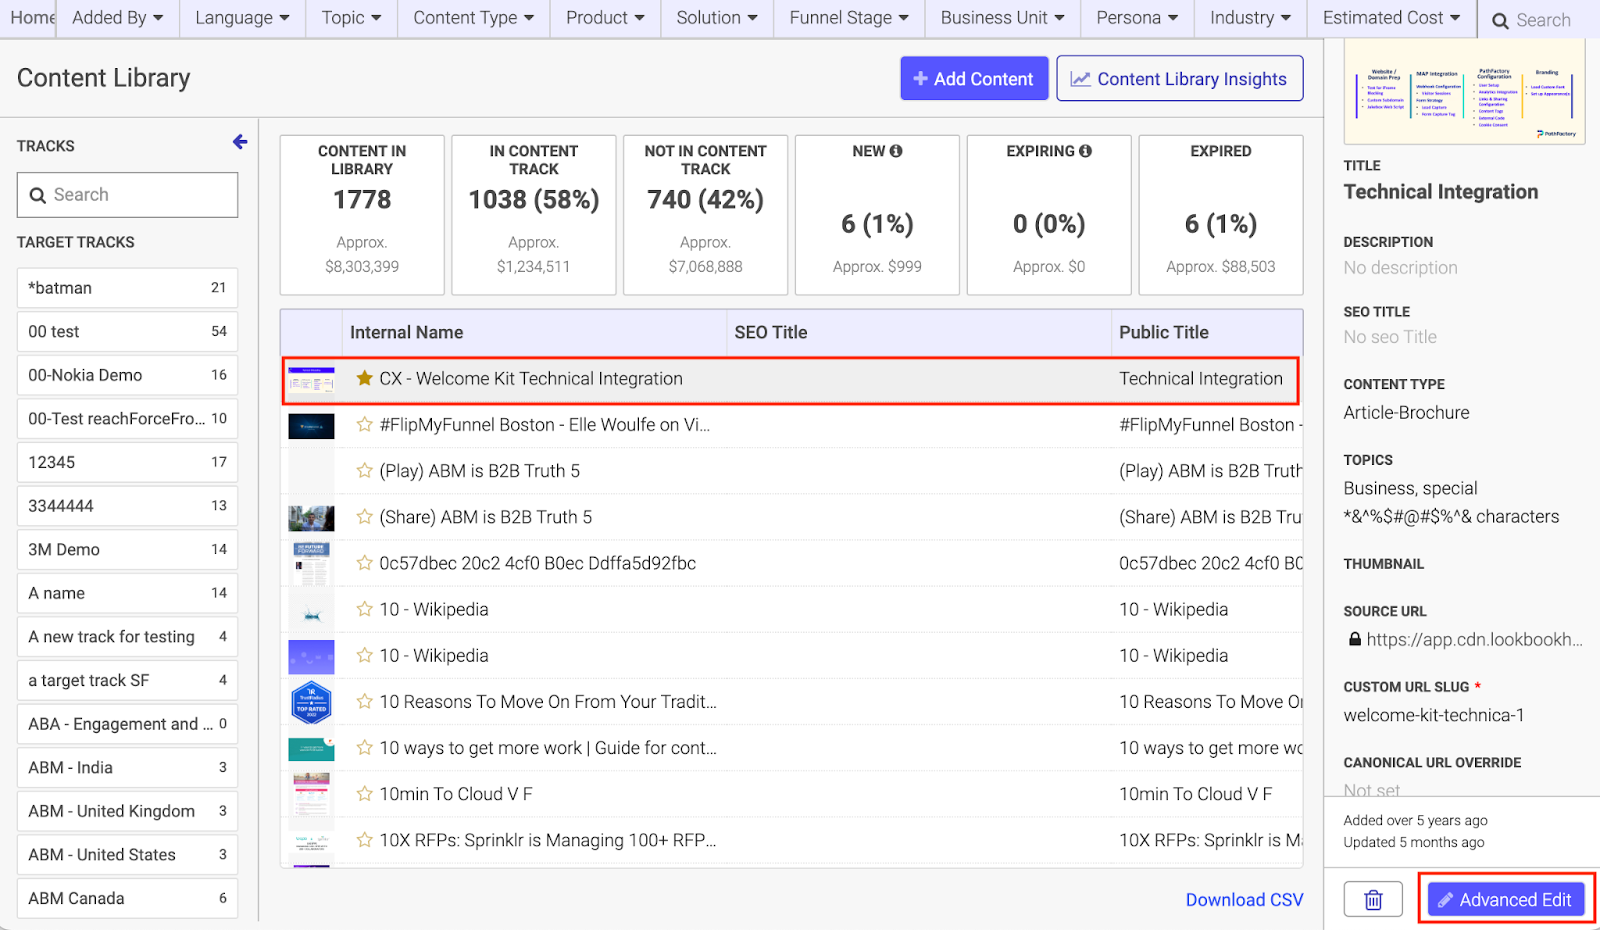
- If you want to add Smart Topics, select the content asset you want to tag from the Content Library and click Advanced Edit as highlighted below.
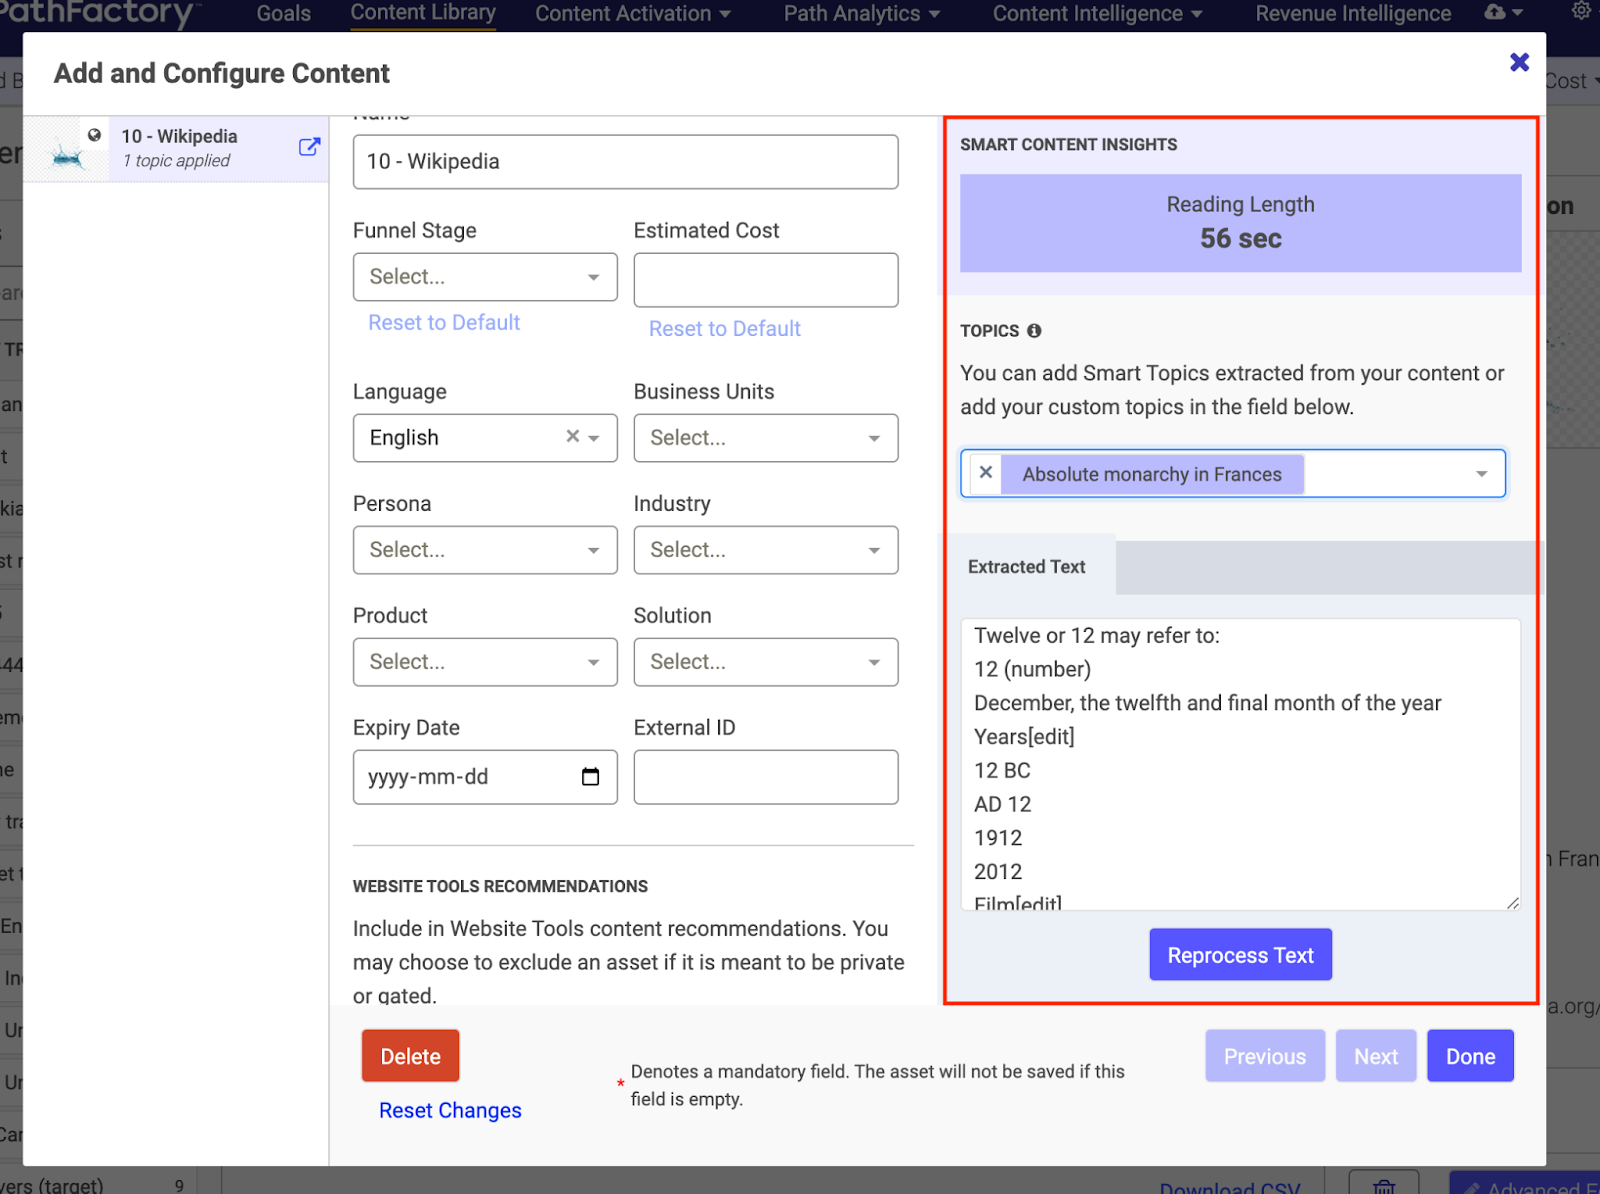
- The content upload and configuration screen will open, and you can select Smart Topics from the list of suggestions in the right panel, or click Reprocess Text to generate topics automatically.
- When you are finished adding tags, click Done to save the changes. To exit without saving click the Reset Changes link at the bottom of the menu.